Easy DIY Incense Cones
Learn how to make your own easy DIY incense cones with ingredients and tools you already have in your kitchen.
The practice of burning incense has existed since ancient times as part of spiritual practices, to address bad odors with a pleasant aroma, or more recently in aromatherapy to address issues like anxiety.
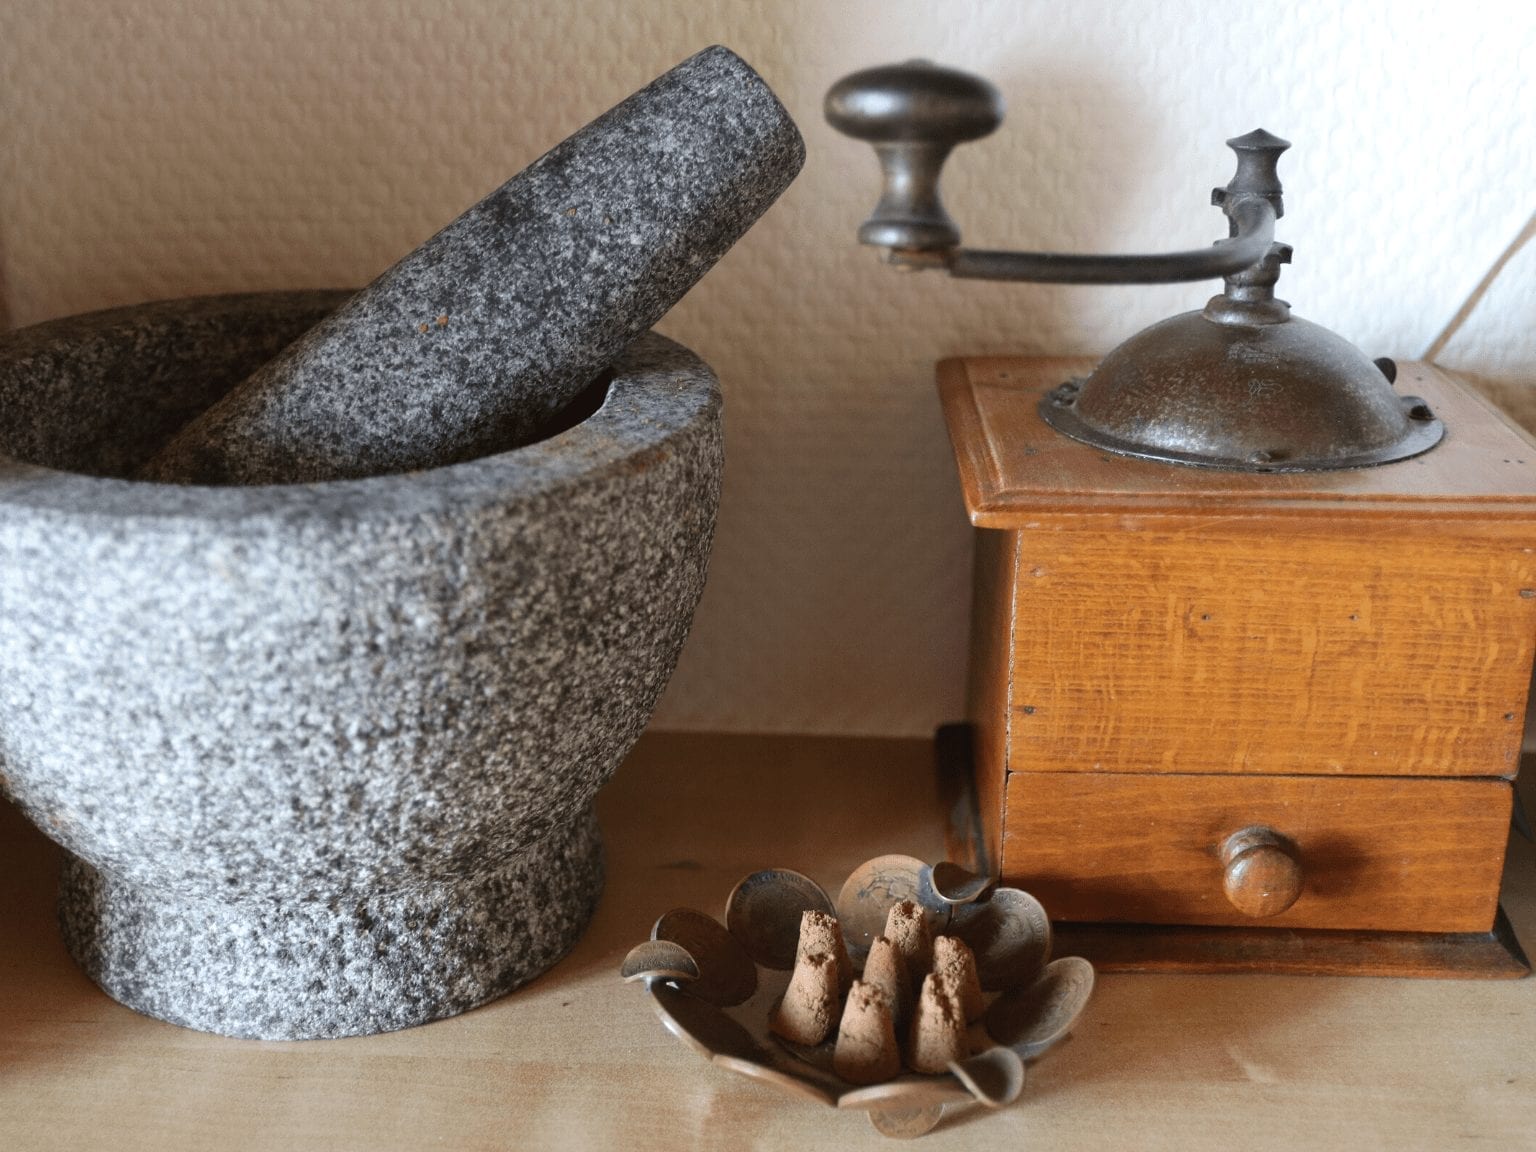
Is Burning Incense Safe?
Just like essential oil diffusers, incense should not be overused. Both emit volatile organic compounds that can irritate your lungs. One study found that burning incense indoors was more toxic than burning cigarettes indoors. If you decide to burn incense, you must ensure the area is properly aerated. Do not use incense if you have respiratory issues. It’s not recommended to burn incense around pets or small children, either, as their lungs are more sensitive to the particulate matter in the air. Of course, when burning incense cones, make sure you’re doing so on a surface that is not flammable, out of children’s reach, and don’t leave the room unattended.
How to Make Easy DIY Incense Cones
If you want to very occasionally burn incense in your home in an aerated room, consider making your own easy DIY incense cones! Make sure to watch the tutorial video below.
In general, to make an incense cone, you’ll need:
- Dried aromatic herbs that have a nice aroma when burned (i.e. lavender, cinnamon)
- A mortar & pestle or old coffee grinder (unless the herbs are already in powdered form)
- A base to help the incense cone burn (i.e. pine, sandalwood, clove)
- A binder to hold the cone together (i.e. guar gum, xanthan gum, makko, marshmallow root, honey*)
- An old piping cone tip for frosting (the smaller the better)
- A toothpick
*Please source your honey from a local beekeeper with ethical practices.
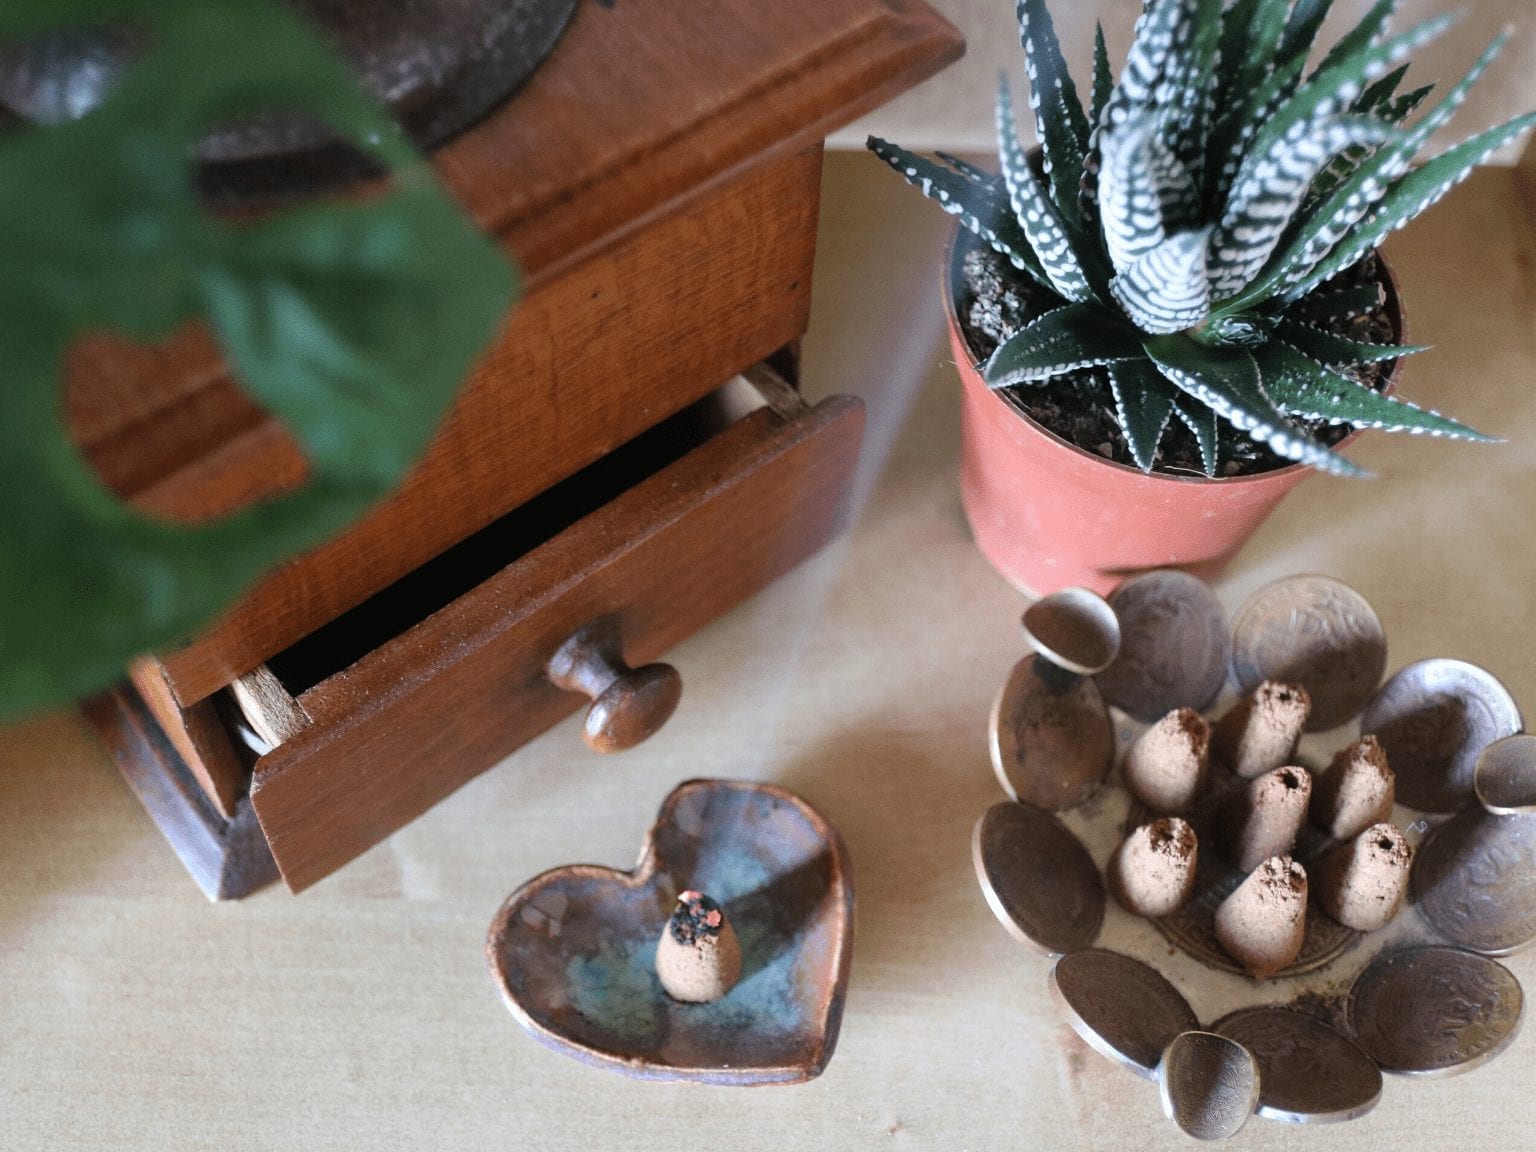
Easy DIY Incense Cones Recipe:
Cinnamon Nutmeg Clove Incense Cones Recipe:
- 3 tsp. ground cinnamon
- 1.5 tsp. ground nutmeg
- 1.5 tsp. ground cloves
- 1 tsp. marshmallow root
- 1 tsp. honey
- 1 tbsp. water
Instructions to Make & Use the DIY Incense Cones:
- Add the cinnamon & nutmeg in a bowl. Stir.
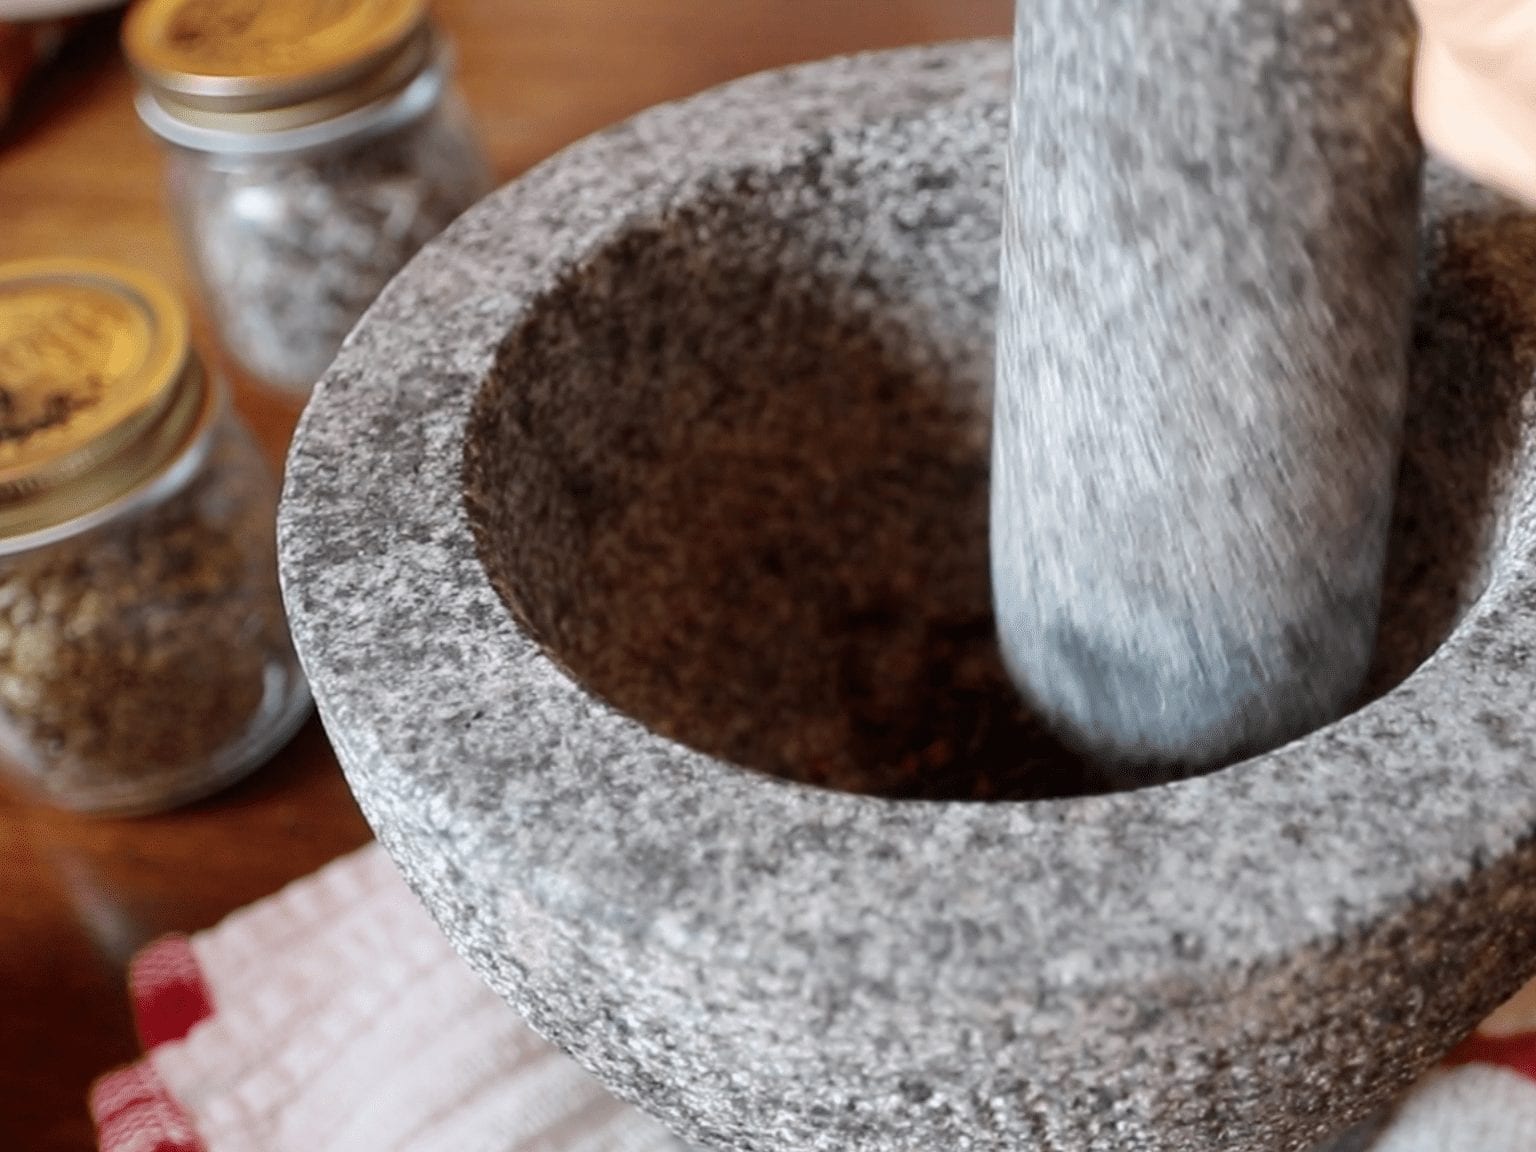
- Grind the cloves with a mortar & pestle or an old coffee grinder. Measure out 1.5 tsp. and mix it in the bowl.
- Add the marshmallow root.
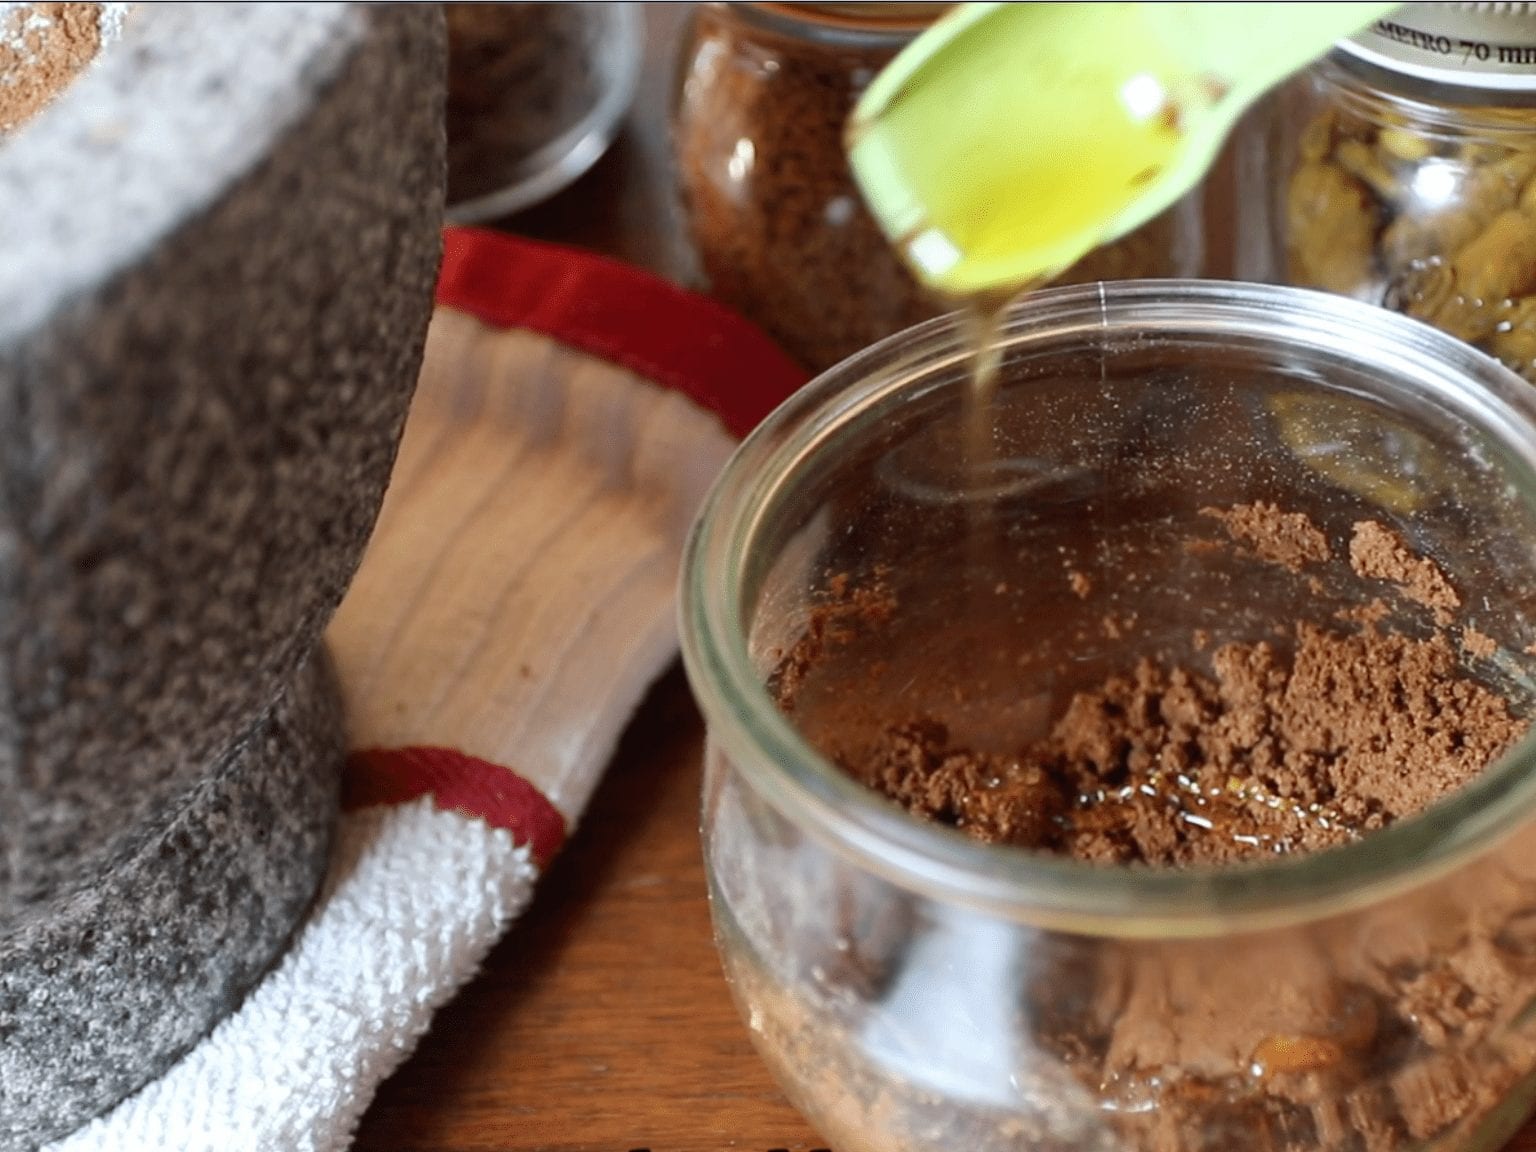
- Slowly add the water, stirring as you go.
- Finally, add the honey and combine well. The mixture should hold together well enough to shape the cones.
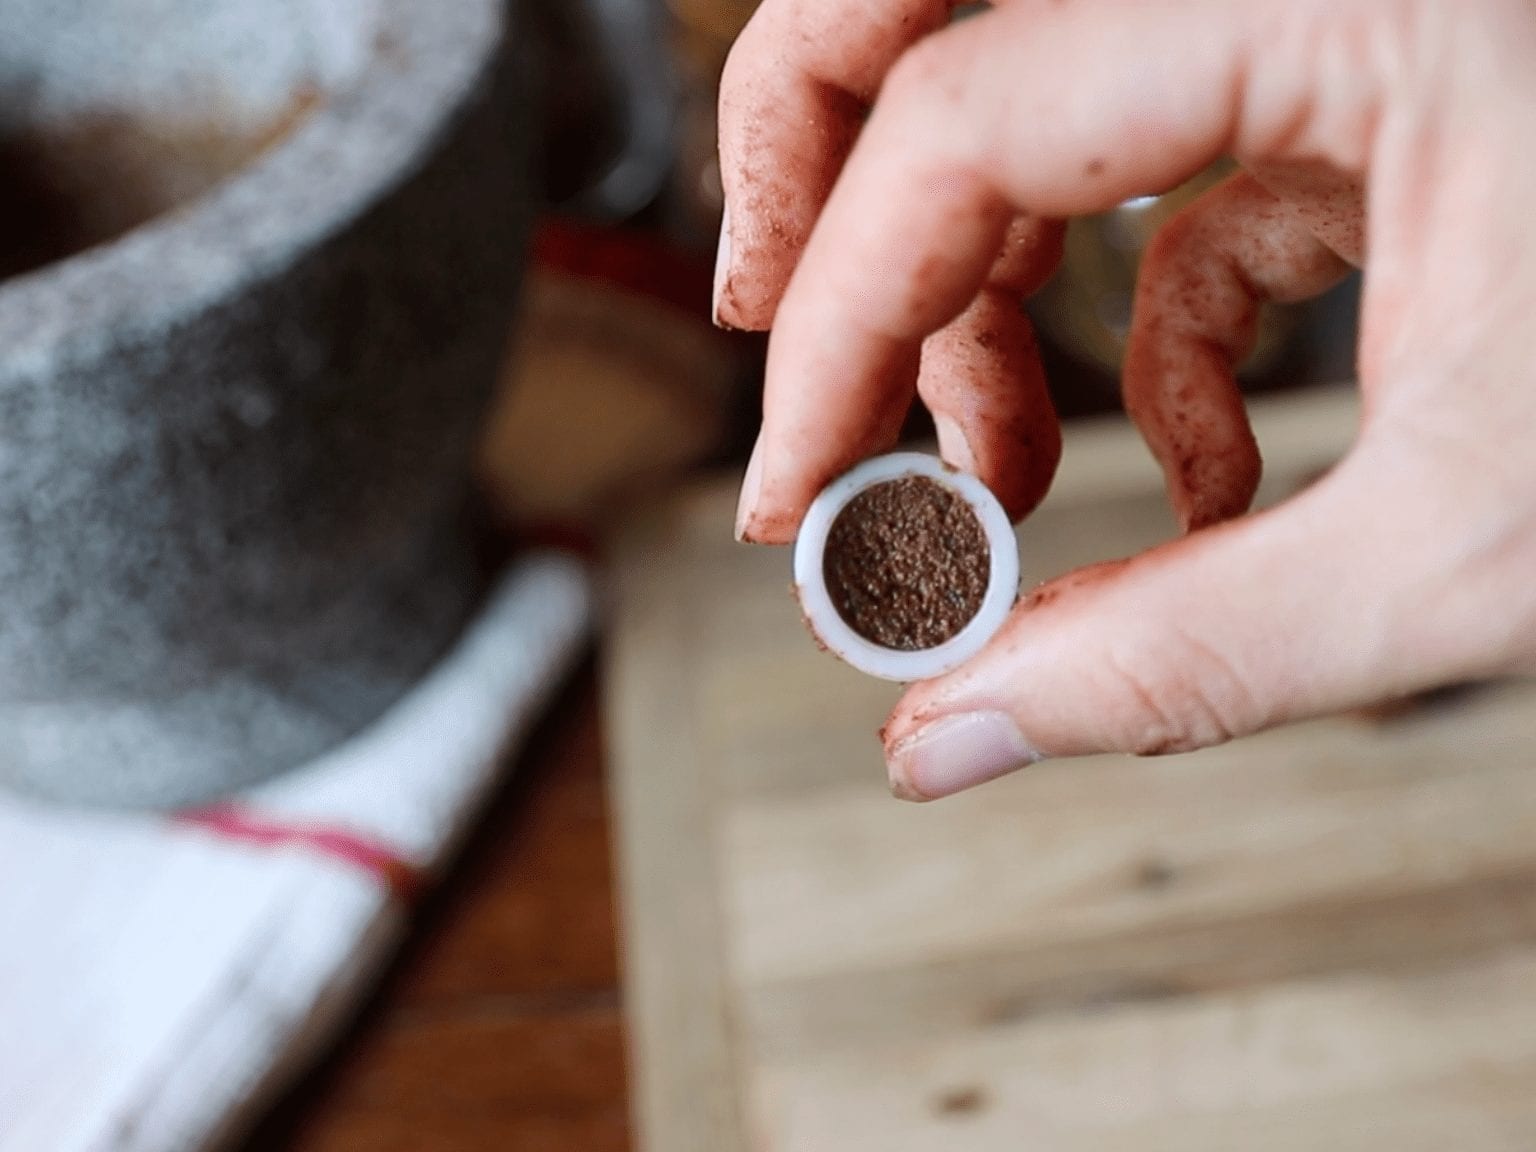
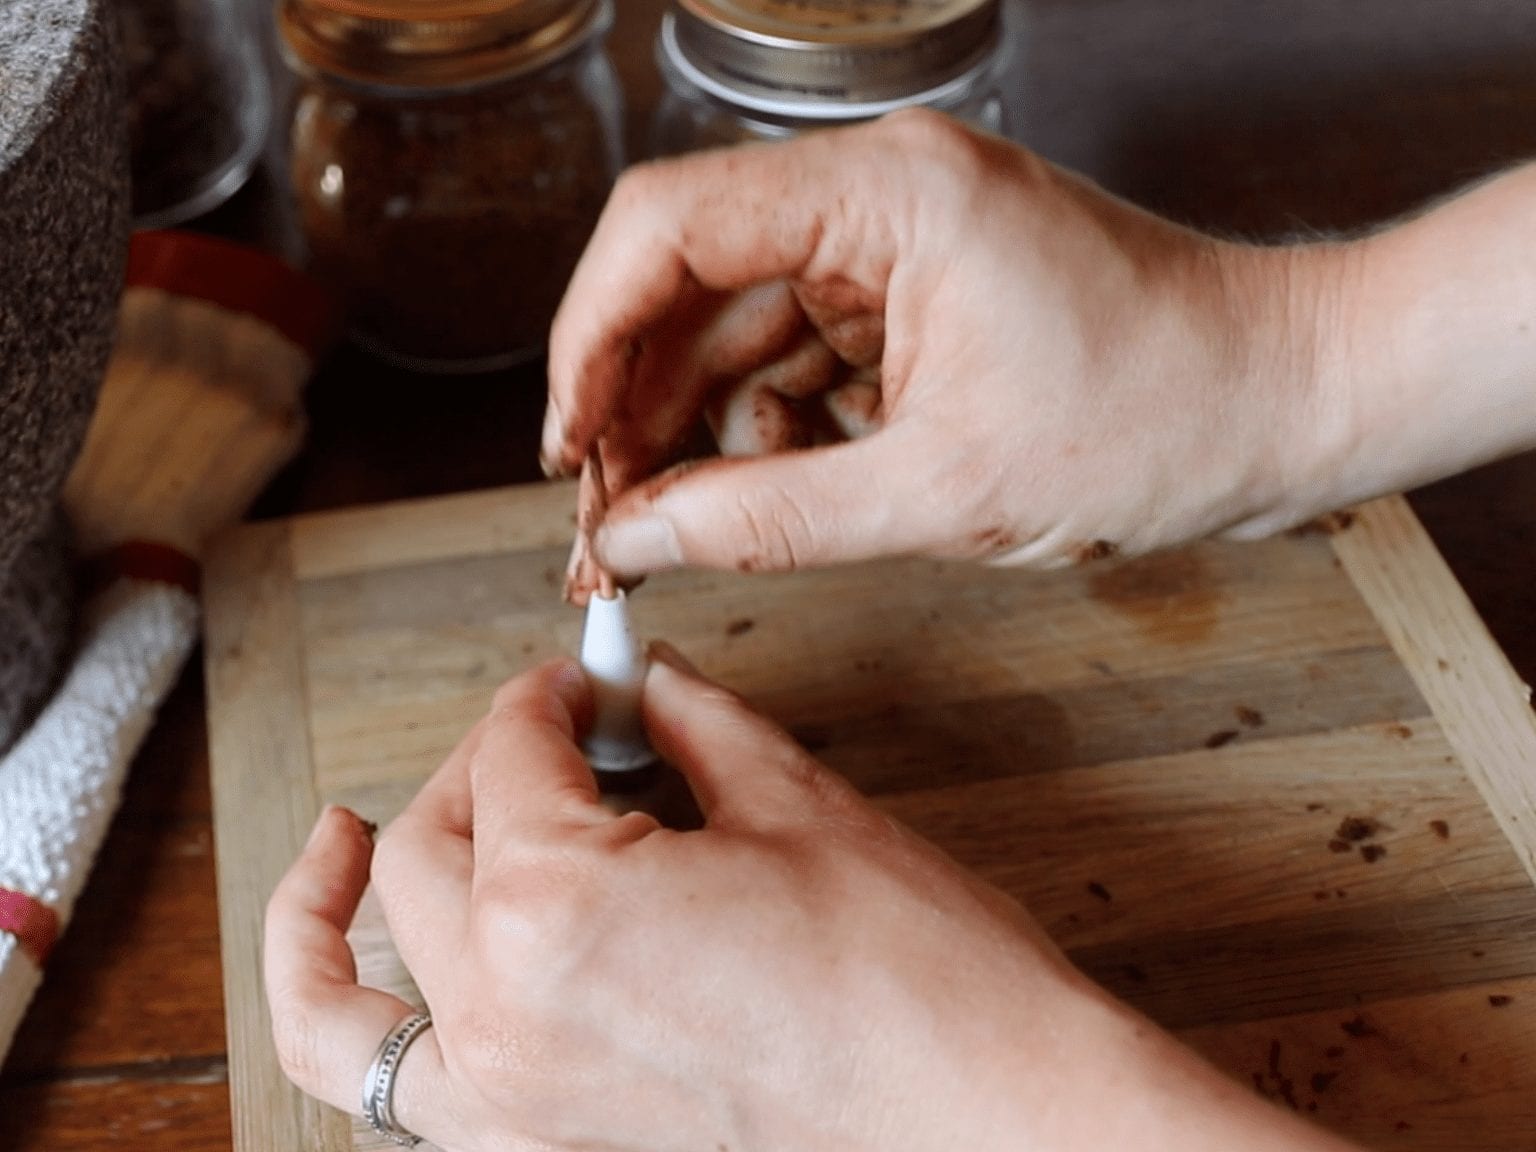
- Shape the DIY incense cones: Put the incense mix inside a small piping cone. Push it in so it’s nice and stuck together. Then, take a toothpick to make a hole in the center of the cone. (This will help it burn better.) Then, tap the piping cone hard onto the table 3-4 times. It won’t come out, but it will help loosen it from the sides. Then, take the toothpick to help push the incense cone out of the piping cone. Repeat until you’ve used up all the incense mix. (You can also mold them by hand by using a ring as the base to work up from. They will be smaller, and it’ll be hard to put a hole in the base.)
- Dry the cones: The best way to dry the incense cones is to place them on the dashboard of a car on a sunny day. After 1-2 days, move the cones to an airtight container. This is an important step when using honey in the formulation, since it’s a humectant. If it’s not in a closed container, it will attract water and the cone won’t burn as readily.
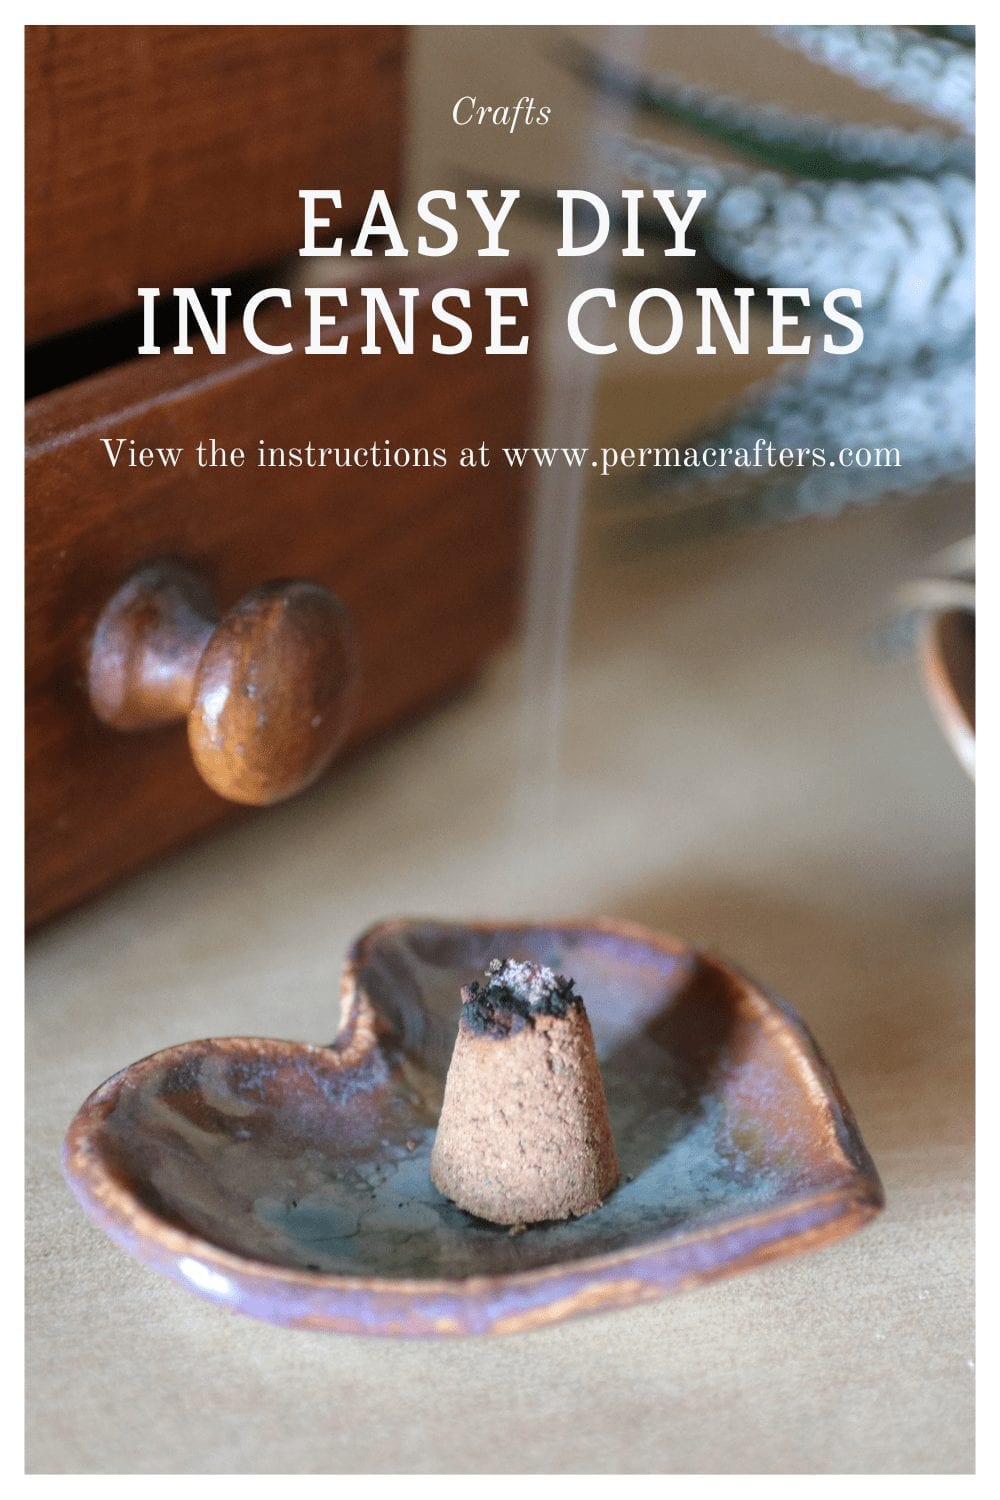
- Burning the DIY Incense Cones: Follow the safety instructions written above (aerate, no pets/babies, seldom, etc.). Always burn the incense on a surface that is not flammable, such as a small ceramic plate.
Troubleshooting your DIY Incense Cones
- The incense cones are falling apart: Break them into a mixing bowl, add more binder, and start over. Otherwise, handle carefully and burn.
- The dough won’t stick together properly when molding the cones: Add more water.
- The incense won’t burn all the way through:Make sure to wait a full 3-4 days before burning it. Your cones may also be too thick. That’s why it helps to put a hole in the incense cone, to make sure no part of the cone is too thick. Finally, there may not be enough base material (clove, pine, sandalwood).
Have you tried them? Let us know what you think in the comments below!
xx,
Christelle
P.S. Are you making these as an aromatic gift? Here are other aromatic gifts your friends may enjoy: DIY Natural Foot Scrub and DIY Heating Pack.
By commenting you accept our Privacy Policy.





If I already have incense cones that are pre-scented, but I wanted to add a stronger scent to it, would I just have to add more fragrance oil? Or would I have to add the fragrance oil with the alcohol as well?