How To Make Homemade Kombucha Tea
Learn how to make homemade kombucha tea, from growing your own SCOBY, to bottling and flavoring your kombucha.
The first time I tasted kombucha was at the Eco-Institute in North Carolina. Farmer Dave brought out a big batch of kombucha tea with a big placenta-looking blob floating on top. I’d never seen such a thing back home in Peru. While my love for kombucha certainly wasn’t at first sight, it absolutely was at first sip. It’s among my favorite fermented drinks.
Here’s how to make homemade kombucha tea.
Stage 1: You need a SCOBY & starter tea
What is a SCOBY?
The kombucha SCOBY is the weird-looking round blob with a jelly-like consistency that floats, hovers, or sinks in a kombucha brewing vessel. It stands for “symbiotic culture of bacteria and yeast” and also goes by the name ‘kombucha mother’, because it will create baby SCOBYs. Every time you brew a new batch of kombucha, the SCOBY babies will appear as new layers at the top of your vessel. (Your SCOBY will become like a new pet, so you’re gonna want to name it. I named mine Scooby!)
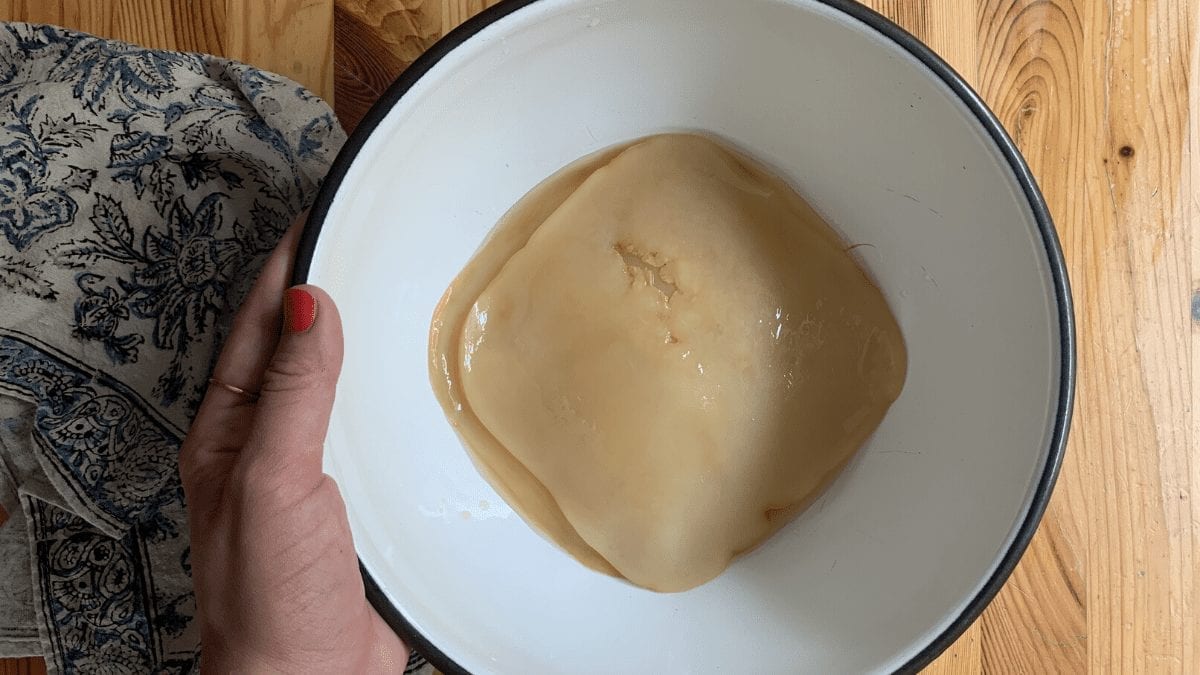
How to find a SCOBY & starter tea
Most kombucha brewers will happily gift you one of their SCOBYs. When you brew kombucha yourself, you end up with a new layer of SCOBY each cycle (1-2 per month), and since one SCOBY can last 6-9 months, you often end up with more than you can handle. Ask your friends or local green groups on social media if they have a kombucha mother to gift you.
Make sure to ask for at least ½ cup of starter tea for the SCOBY to sit in. This will be enough starter to brew your first batch. Starter tea is aged kombucha (or “kombucha vinegar”) that’s taken from a previous batch of kombucha tea. It contains the bacteria & yeast needed to start a new batch.
If there are no awesome kombucha brewers near you, you can still buy or grow your own SCOBY. Check out your local herbal medicine shops or Etsy.
How to grow a SCOBY
If you prefer to start from scratch, it is possible to grow your own SCOBY. It’s pretty simply as long as you’re patient and have access to raw, unflavored kombucha at your local grocery shop. Here’s how to grow a SCOBY:
Ingredients & Materials:
- 8 cups of filtered water
- 12 grams (or 3 tbsp.) of loose organic black tea
- ½ cup plain white cane sugar
- ½ cup raw unflavored kombucha, bottled (GT’s Organic Kombucha Original)
- 1 half-gallon wide-mouth glass jar
- Cloth
- Rubber band
Instructions:
- Boil 4 cups of water in a pot.
- In a separate large pot, add 1 cup of boiling water and the sugar.
- Add the loose leaf tea to your tea infuser and let it steep in the remaining 3 cups of hot water.
- Wait for 3 -5 minutes for the tea to steep, then add it to the sugary water.
- Now, add 4 cups of cool water and let the sweetened tea cool down. It must be cool before you proceed to the next step!
- Pour the mixture and 1/2 a cup of raw unflavored kombucha in a designated kombucha glass brewing vessel.
- Cover with a thin dish towel and secure it with a rubber band.
- Let it ferment in a dark and warm spot for about seven days.
- After one week, you will see a layer of SCOBY growing at the surface. It will look transparent and light yellow at first, but it will become thicker and darker over time. Wait until the SCOBY is at least ¼ inch thick; this may take one month. The warmer it is, the faster it will be.
Stage 2: Brewing Kombucha Tea
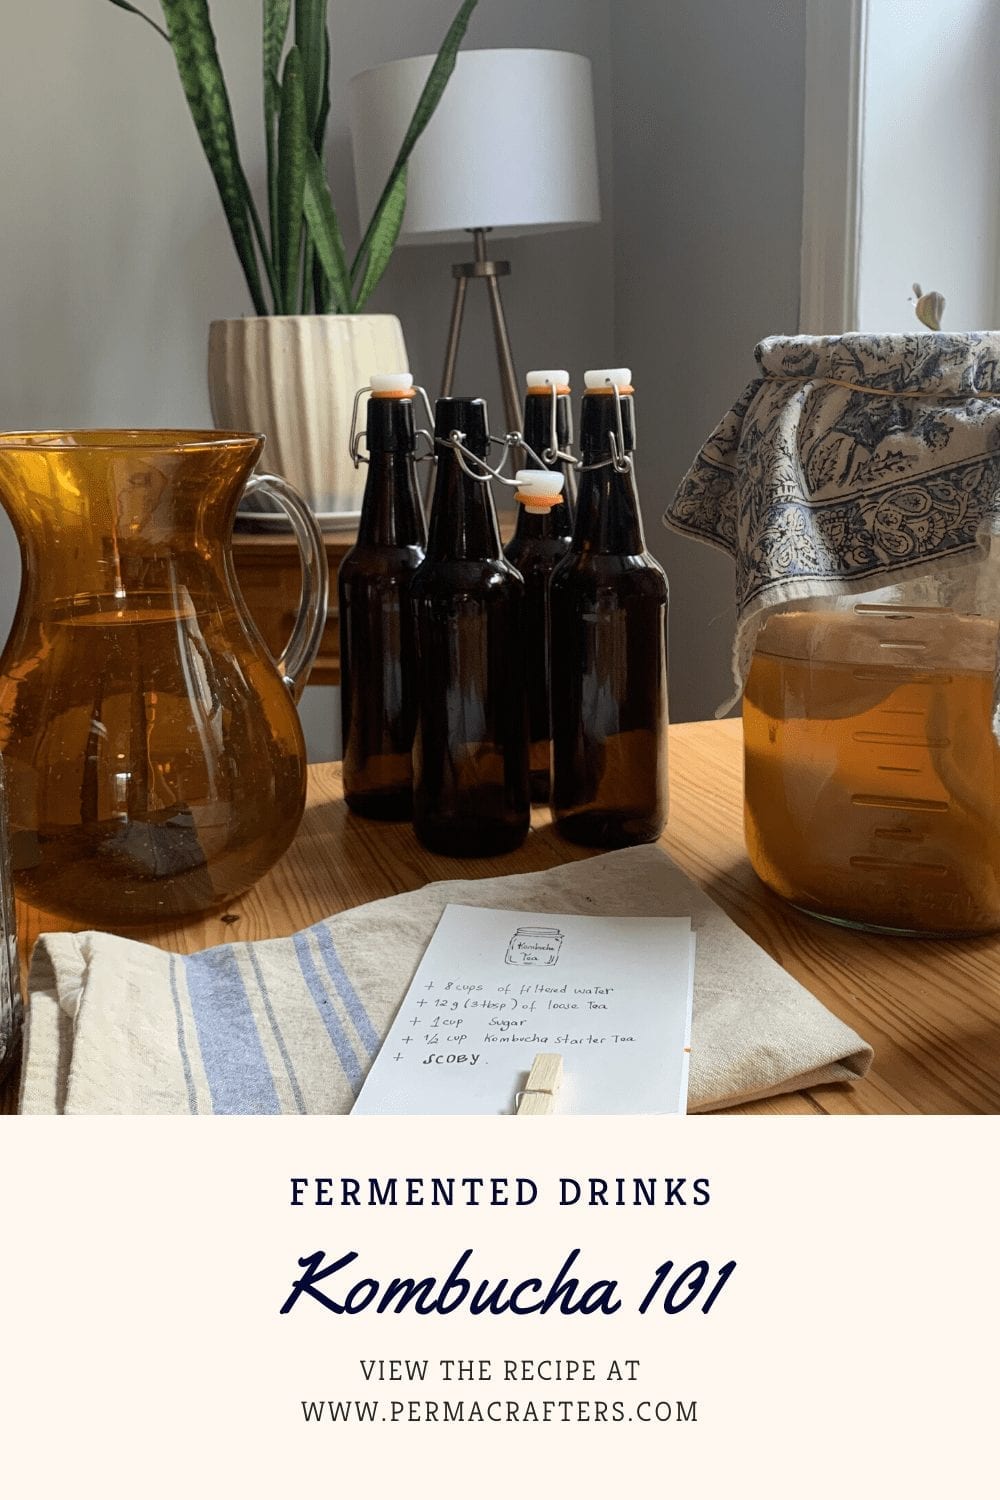
Once you have your SCOBY and starter tea, you can begin the kombucha brewing process. You’ll make a batch of sweetened black or green tea (feeding tea), and add to it your SCOBY and starter tea. Let this ferment for 7-14 days (the hotter in your home, the quicker), and then you can enjoy your kombucha! If you want to add flavor and fizz to your kombucha, you can do a second fermentation. You’ll need to flavor it, bottle it, and wait 2-4 more days.
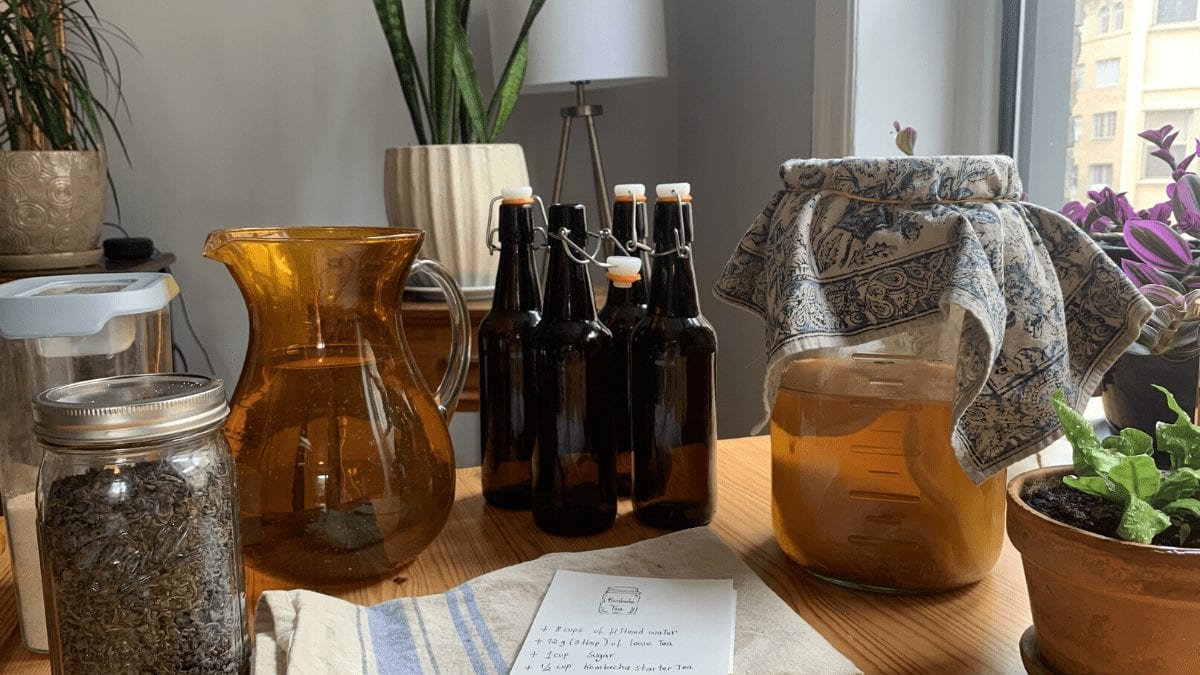
How to make Kombucha Tea
Yields: about 8 cups of kombucha (first fermentation)
Fermentation Time:
- First fermentation: about 7 to 14 days
- Second fermentation (optional): about 2 – 4 days
Ingredients:
- ½ cup kombucha starter tea (previous batch)
- 8 cups of filtered water (bamboo charcoal filter for zero waste option)
- 12 grams (or 3 tbsp.) of loose organic black tea (or green)
- 1 cup plain white cane sugar
- SCOBY
Equipment:
- 1 gallon wide-mouth glass jar (with spigot, ideally)
- Thin cloth (that can cover the mouth of the jar)
- Rubber band
- Large pot
- Tea infuser, like a French press (not necessary if using teabags)
Instructions:
1. Boil 4 cups of water.
2. Add 1 cup of boiling water and 1 cup of sugar to a large pot.
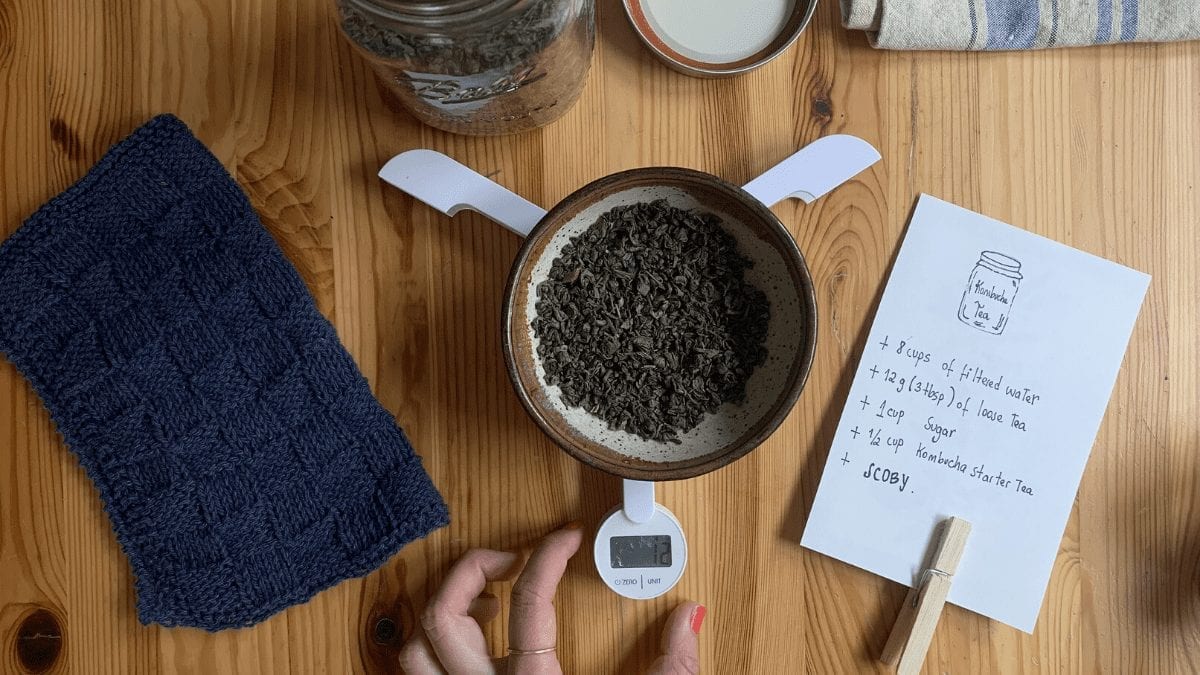
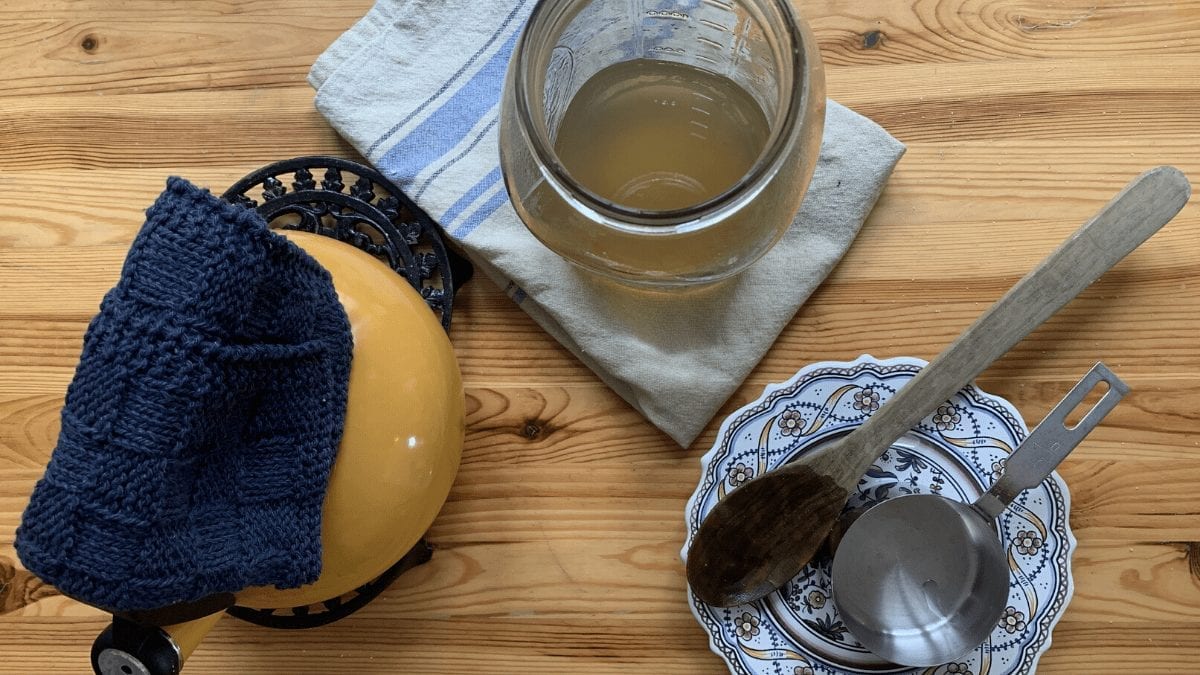
3. Add the loose leaf tea to your tea infuser and let it steep in the remaining 3 cups of hot water.
4. Wait for 3 -5 minutes for the tea to steep, then add it to the sugary water.
5. Add 4 cups of cool water and let the sweetened tea cool down. It must be cool before you proceed to the next step!
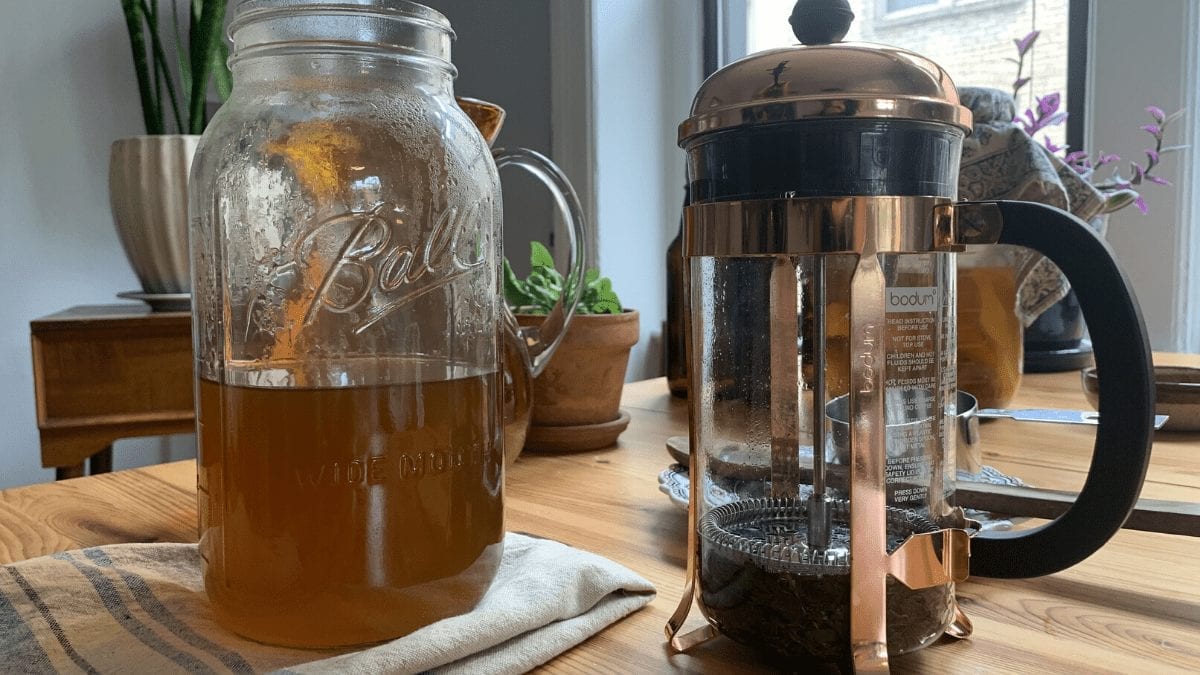
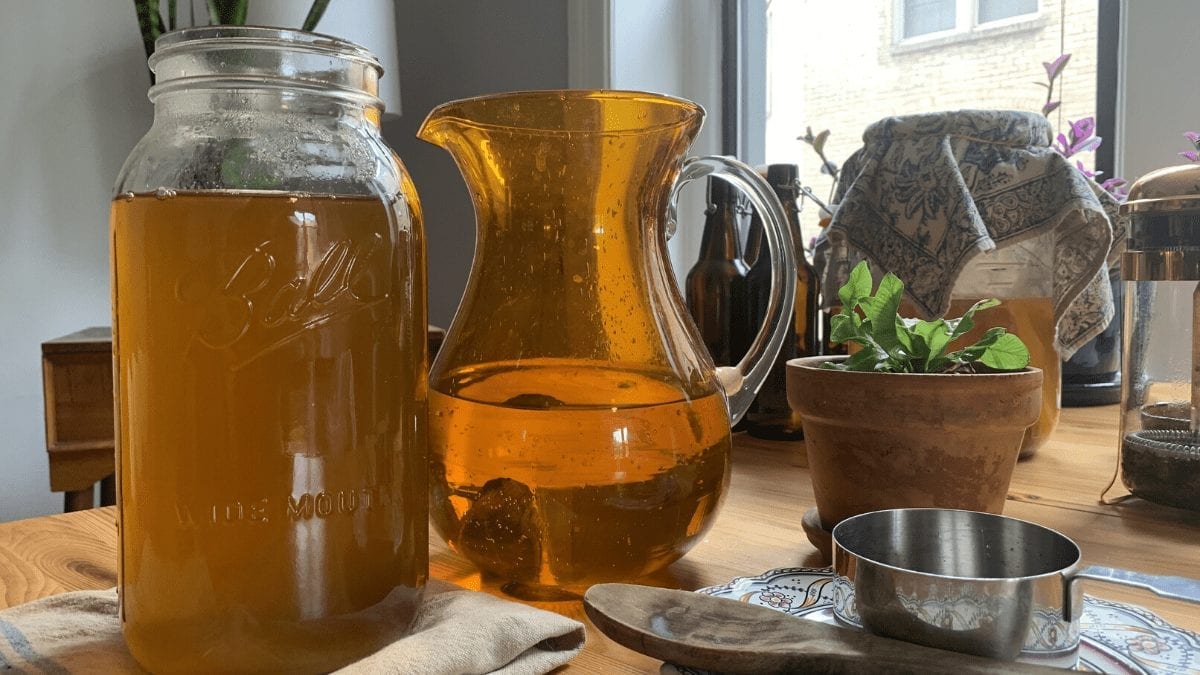
6. Pour the sweetened tea into your gallon jar. Plop your SCOBY in, and ½ cup of kombucha starter tea.
7. Cover the jar with a piece of cloth and secure it with a rubber band.


8. Set it out of the sunlight and let it ferment for 7-14 days. The hotter it is in your home, the faster it will ferment. Ideal brewing temperature is 20 to 30°C. Do a taste test daily starting on the 5th day: it should be a mix of sweet & tart. The longer it ferments, the more sour it will taste as the SCOBY consumes the sugar. (If it’s turned to vinegar, it can be used for cooking or cleaning.)
9. Once it’s reached your preferred taste, you can drink it! If your jar has a spigot, you can easily enjoy your kombucha over the course of several days until it gets too vinegary. (No need to remove the SCOBY.) Don’t drink all the kombucha! Leave at least ½ cup for your next batch!
Stage 3: Kombucha Bottling & Flavoring (optional)
If you don’t count on drinking your kombucha within days, you can bottle it and refrigerate it to slow the fermentation process. (Make sure to leave some starter tea out of the fridge for your SCOBY to sit in). You can also add flavor to your kombucha tea (with fruits, herbs, or spices), bottle it, and let it ferment for another 2-4 days before consuming or refrigerating. In addition to adding a delicious twist to your kombucha, this second fermentation process makes it satisfyingly fizzy.
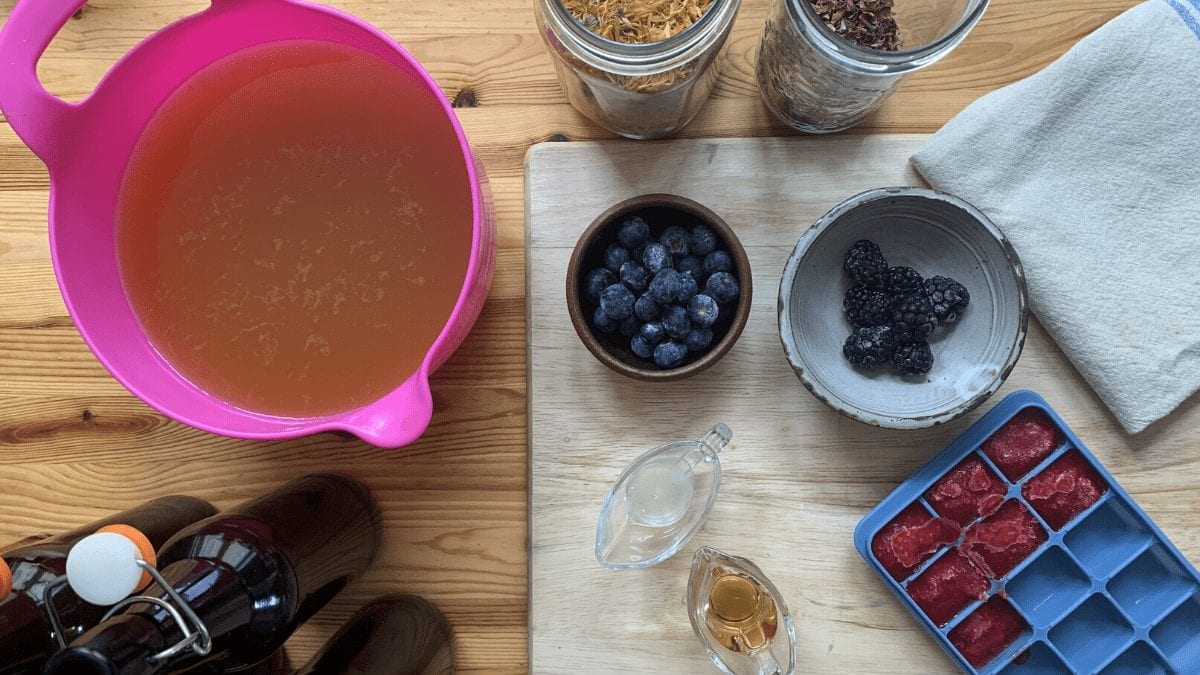
Second Fermentation: How to flavor & bottle kombucha
Yields: about 4 x 16oz bottles for 8 cups of plain kombucha
Instructions:
1. Push chopped fruits, herbs, edible flowers, or spices into the sealable bottles 1.5 to 2” up.
2. Pour the kombucha into the bottles through the spigot (or with a funnel or carafe if you don’t have a spigot, in which case you’ll first remove the SCOBY). Leave at least ½ cup for your next batch.
3. Make sure there’s at least 2 inches of free space at the top of the bottles before you shut them airtight.
4. Place your bottles out of the sunlight and allow them to ferment for 2-4 days (or longer). IMPORTANT: After the 2-4 days, make sure to open your bottles. You must open your bottles at least every 2 days to release built-up gases in the bottle. This is calling ‘burping’. Do not forget to burp your bottles or they may explode!
5. Taste after 2-4 days. Once it’s reached the flavor you like, refrigerate the fizzy kombucha bottles to slow the fermentation process.
Make sure to watch our video tutorial on brewing kombucha:
I hope you loved learning how to make your own kombucha. Please share your kombucha brewing experiences with us in the comments below!
Ready for more fermenting? Check out our other blog posts on How to Make Rejuvelac, How to Make Sauerkraut, and How to Make Pickled Grape Leaves with Lacto-Fermentation.
¡Salud!
Cristina
By commenting you accept our Privacy Policy.
Copyright © 2017 Permacrafters. All rights reserved. || Privacy Policy || Website Terms of Use || Health Disclaimer || Student Dismissal Policy ||

Hello! Thank you SO much for sharing how to make Scoby and Kombucha. I’m about to start my first fermentation and I’m wondering what should be done with the starter tea after I’ve used the 1/2 cup to add it to the feeding tea. Does it get thrown out? Thanks very much.